| This manual is deprecated. Please visit https://groupoffice.readthedocs.io for the latest documentation. |
Difference between revisions of "Custom fields"
(→Permissions) |
|||
| Line 35: | Line 35: | ||
Custom fields -> Manage categories -> Doubleclick category -> Permissions | Custom fields -> Manage categories -> Doubleclick category -> Permissions | ||
| + | |||
| + | From version 4.0.109 and up it's possible to create read only custom field categories too. So you can make sure people can view them but not alter them. | ||
Revision as of 10:41, 3 October 2012
In Group-Office Professional you can add custom fields to:
- Contacts
- Companies
- Appointments
- Tickets
- Invoices / Orders
- Projects
Custom fields are organized in categories. Each category will become a tab in the edit dialog and you can set access permissions per category. The custom fields are also searchable and you can add them to the grids.
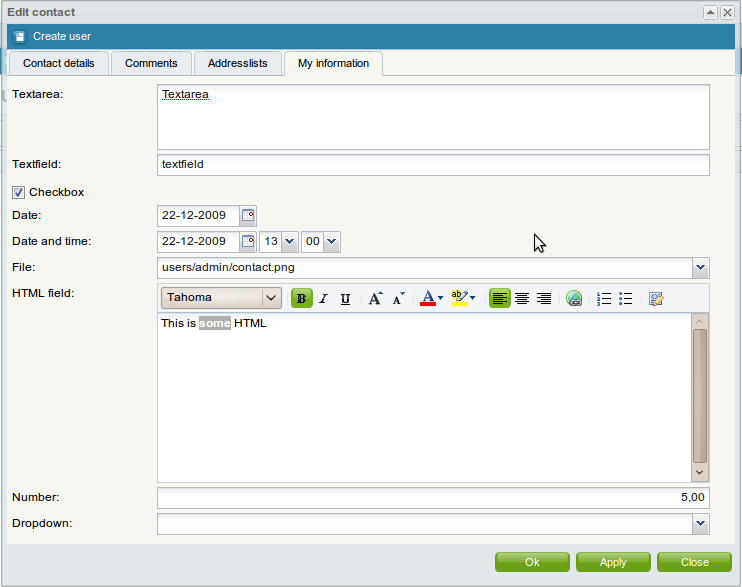
When we create a category "My information" to the contacts this will look appear like in the following screenshots:
The edit screen:
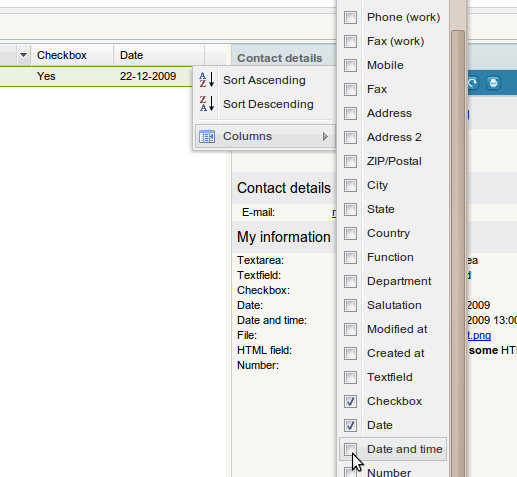
You can add the fields to the grids:
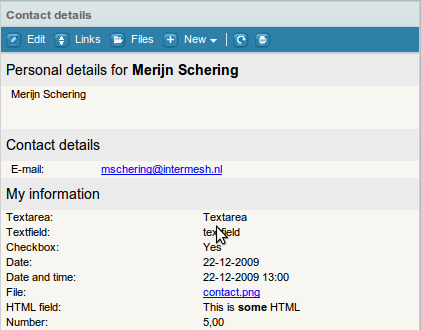
View the fields in the information panel:
To add custom fields go to:
Start menu -> Custom fields.
Add a category first. Click at Manage categories -> Add to add a category.
After the first category is created you can add the fields.
Permissions
For a user to see the custom fields created, make sure the user has access to the module "Custom fields" and has access to the custom field category at:
Custom fields -> Manage categories -> Doubleclick category -> Permissions
From version 4.0.109 and up it's possible to create read only custom field categories too. So you can make sure people can view them but not alter them.


