| This manual is deprecated. Please visit https://groupoffice.readthedocs.io for the latest documentation. |
Difference between revisions of "Z-push admin user manual"
(→Device dialog) |
(→Device dialog) |
||
| Line 23: | Line 23: | ||
When the option "Can connect" is unchecked then the device is NOT be able to connect to Group-Office. | When the option "Can connect" is unchecked then the device is NOT be able to connect to Group-Office. | ||
| − | ''Note | + | '''''Note''': On the device you will get a connection error.'' |
<br clear=all> | <br clear=all> | ||
Revision as of 10:04, 18 February 2013
Contents
Overview
The z-push admin module is used to administer the devices that connect to your Group-Office installation.
You can add devices to this module by set up a new exchange account on the device. More information about this is found in the Z-push 2 module.
Device list
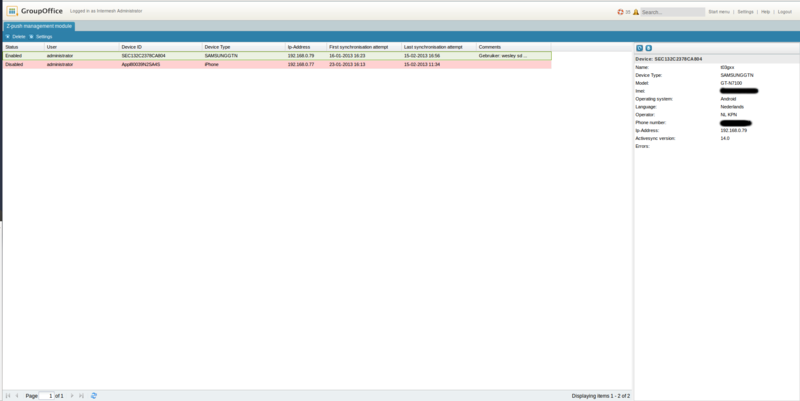
This is the list of all devices that have connected.
The red ones are not be able to synchronize with Group-Office. ("Can connect" is set to "off")
The green ones are ready to synchronize.
Device information panel
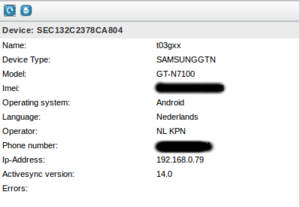
In the device information panel you can find additional information of each device.
Device dialog
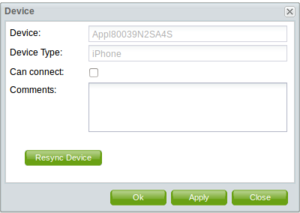
In the device dialog you can add comments to the device and enable/disable the option to let the device synchronize or not.
When the option "Can connect" is unchecked then the device is NOT be able to connect to Group-Office.
Note: On the device you will get a connection error.
Settings
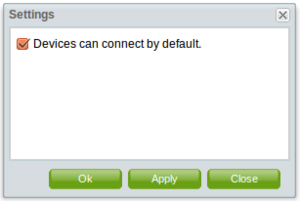
Devices can connect by default.
With this option you can prevent devices from syncing directly after they are added to Group-Office.
Enabled: The device is able to immediately synchronize with Group-Office after the account is set on the device.
Disabled: The device will show up in the device list but will NOT be able to synchronize with Group-Office.
(To let the device sync after it is registered, you need to manually check the "Can connect" option for the device.)


